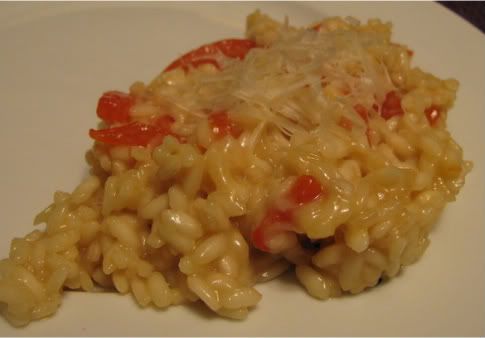
Roasted Red Pepper Risotto
Source: foodfit.com
Ingredients:
- about 3 cups of chicken stock or low-sodium chicken broth (I heated about 4 cups and used most of it)
- 2 teaspoons olive oil
- 1/3 cup diced onions
- 1 teaspoon minced garlic
- 1 cup Arborio rice
- 1/2 cup freshly grated Parmesan cheese
- salt to taste
- freshly ground black pepper
- 1 roasted red pepper
Directions:
- Heat the stock in a saucepan and keep hot over low heat.
- Heat the olive oil over medium heat in a separate medium-sized pot. Add the onion and cook until it turns translucent, about 5 minutes. Add the garlic and cook 1 minute more.
- Add the rice to the onion mixture, stir and turn the heat to low. Add about 1 cup of the hot stock to the rice mixture, and stir slowly until the stock is absorbed.
- Continue to add the stock 1 cup at a time, stirring slowly, letting the rice absorb the stock before adding more.
- The risotto is cooked when it is creamy on the outside and slightly firm (al dente) in the center, about 20 to 25 minutes in all. Stir in half of the Parmesan cheese and half of the red pepper strips. Season with salt and pepper to taste. If the risotto is too thick, add a little more stock until it becomes creamy.
- Divide the risotto into serving dishes and sprinkle with the remaining cheese and red pepper strips.


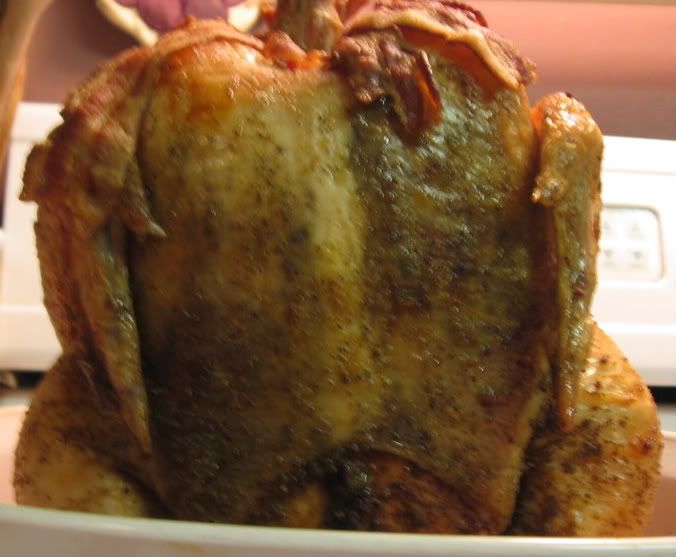
 Hey, can we eat this thing yet?


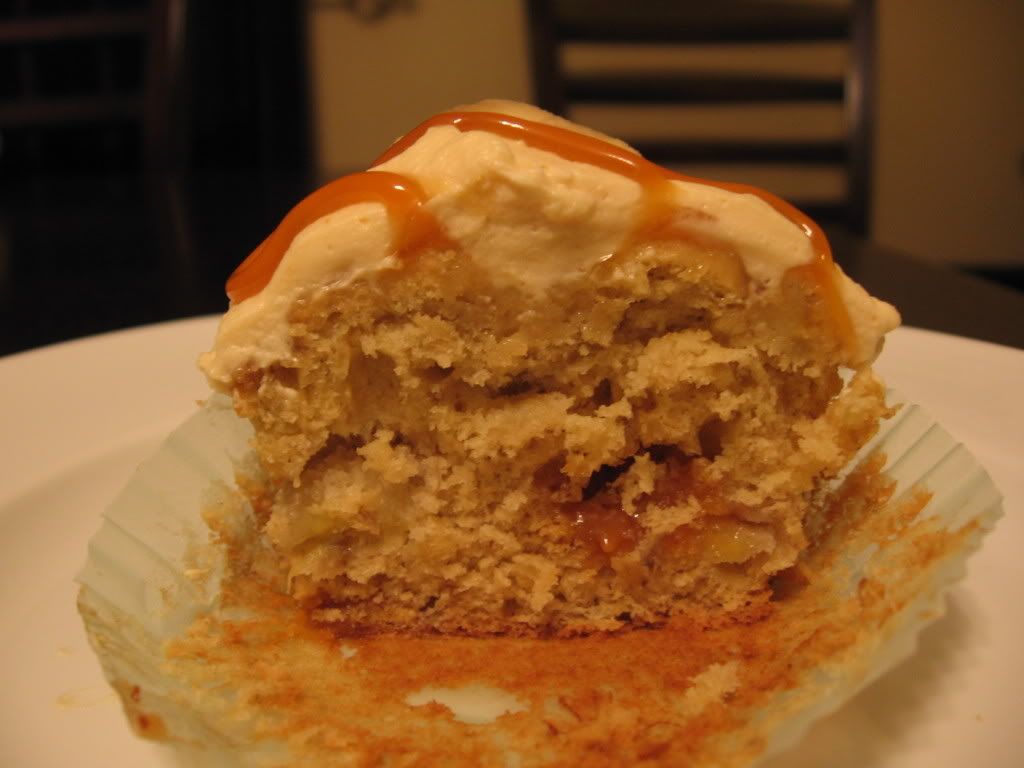
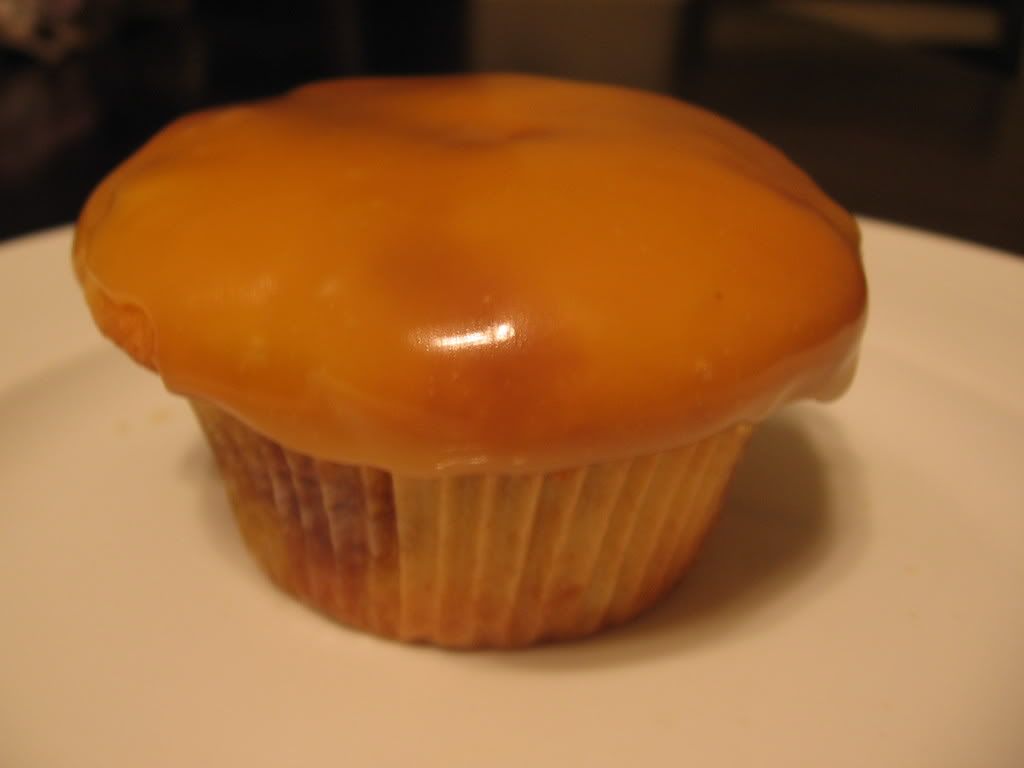
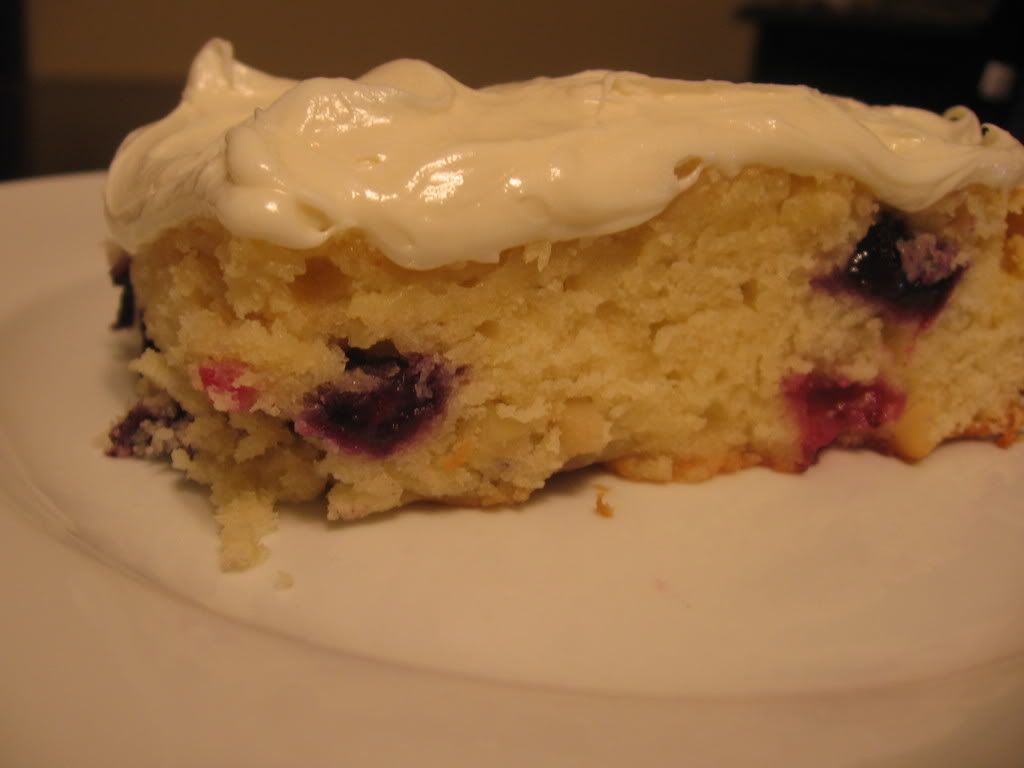
 And here is a close-up of the cake:
 Cupcakes! I made 3 kinds: vanilla with lemon curd filling and lemon cream cheese frosting (yellow), apple crisp with whipped cream frosting (blue) and strawberry with strawberry cream cheese frosting (pink). They all tasted awesome!